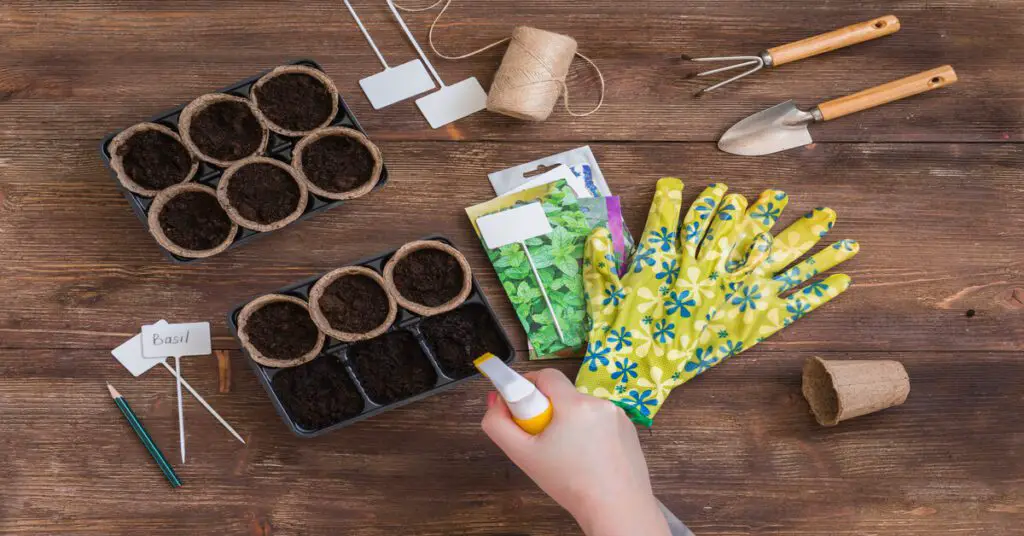
There are many advantages to starting seeds indoors. Including saving money, getting organic produce, being able to experiment with interesting varieties, and growing at your own schedule. Below, we’ll go over everything you need to know to start seeds indoors.
Whether you want to grow your own tomatoes, cucumbers, sunflowers, or peppers. You’ll find that growing some of these plants indoors might help your plants get an early start on the growing season and maximize yields.
While a seed starting kit is an easy no-frills way to begin. The indoor seed starting setup for beginners below can be done with everyday household items as well.
Let’s get started!
Basic Seed Starting Supplies
Below are the basic supplies you need to get started immediately.
- Container – Basically anything that can hold soil and drains well can be used to germinate seeds. Containers should be at least 3-3.5 inches (7.5-9 cm) deep. And can be of any size, depending on how many seeds you plan to germinate.
- Soil – The best soil mixtures for germinating seeds are sterile, soilless mixtures of peat or sphagnum moss mixed with vermiculite and/or perlite for drainage. Avoid regular gardening soil or sand.
- Seeds – Consider your climate and growing conditions when picking the right seeds. Fresh seeds are best, as improperly stored ones will not germinate.
- Light – Seeds will benefit from 24/7 fluorescent or regular cool white household lighting to germinate most effectively indoors. Seedlings will also benefit from direct and adjustable light sources 14-16 hours per day.
- Labels – If you’re growing many types of seeds, consider buying labels. To help identify seedlings, as it’s easy to confuse them.
Preparing Seeds for Sowing
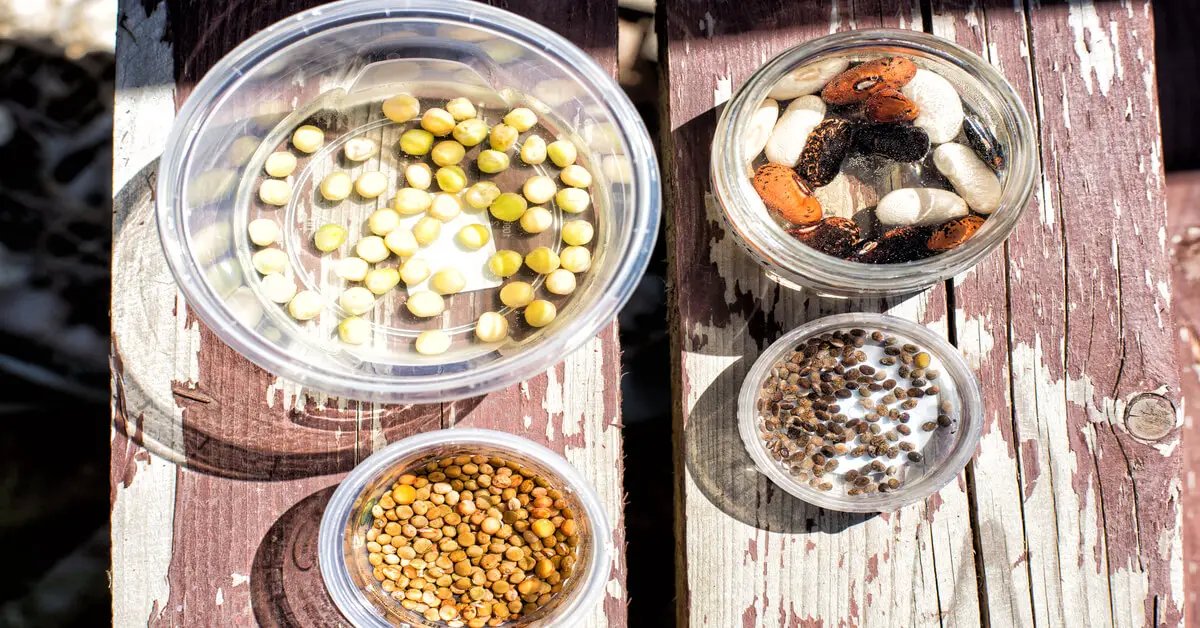
Most vegetables, herbs, and annuals will germinate without requiring too much fuss. But some perennial seeds may need some special attention before germinating.
Below are some special pre-treatments which may be required for some types of seeds:
- Soaking – Soaking helps soften hard seed coats, increase seed moisture, and rinse out undesired chemicals. That could inhibit germination.
To soak, place seeds in a shallow dish and submerge 2-3 times their depth with hot (but not boiling) water (~190°C or 87°C). Soak seeds for at least 24 hours and sow immediately without letting seeds dry out.
- Scarification – Hard seed coats can prevent water from absorbing into the seed embryo.
To scarify, nick or scratch hard seeds with sandpaper, a knife, or small scissors. Avoid cutting too deeply to avoid damaging the seed embryo. When seeds are too small to nick or scratch, soak them in water instead (see above).
- Stratification – This process involves subjecting the seeds to a moist-cold treatment before sowing. To simulate the seed-softening natural conditions experienced in winter.
Some seeds, especially perennials, have immature or dormant embryos during harvesting. And will not germinate unless stratified. Others, like lettuce seeds, become dormant if stored at temperatures above 75°F (24°C) for more than a few weeks.
To stratify, mix seeds with 2-3 times their volume in a moistened sowing medium in a Ziploc bag. Then place in a fridge (ideal temperatures are 34-37°F or 1-3°C) for six weeks to 3 months.[1]
How to Start Seeds Indoors in 3 Easy Steps
Step 1
Fill each container with pre-moistened germinating or potting mix.
Tap the container as you fill to settle the mixture. Then gently firm up the mixture with your fingers to get rid of air pockets. Do not over compress. Potting mix should be about ½ inch (1.3 cm) below the pot or container’s rim.
Step 2
Sprinkle seeds thinly over the surface of the potting mix (~3-4 seeds in the center).
Cover seeds with moistened, sifted potting mix at a depth equal to the thickness of the seeds themselves.
For tiny seeds, or seeds that require light, just press the seeds gently onto the surface of the potting medium with your fingers or a pencil.
Step 3
Cover containers with plastic wrap or glass to minimize the need for watering. Then place under direct light source and above a heat source such as a heat mat or on top of a refrigerator.
Condensation on the plastic or glass is normal as temperatures change. If too wet, however, leave the glass or plastic off for several hours to dry before covering again. Do not let the medium dry out completely at any time as moisture is essential for germination.
Types of Seed Starting Containers
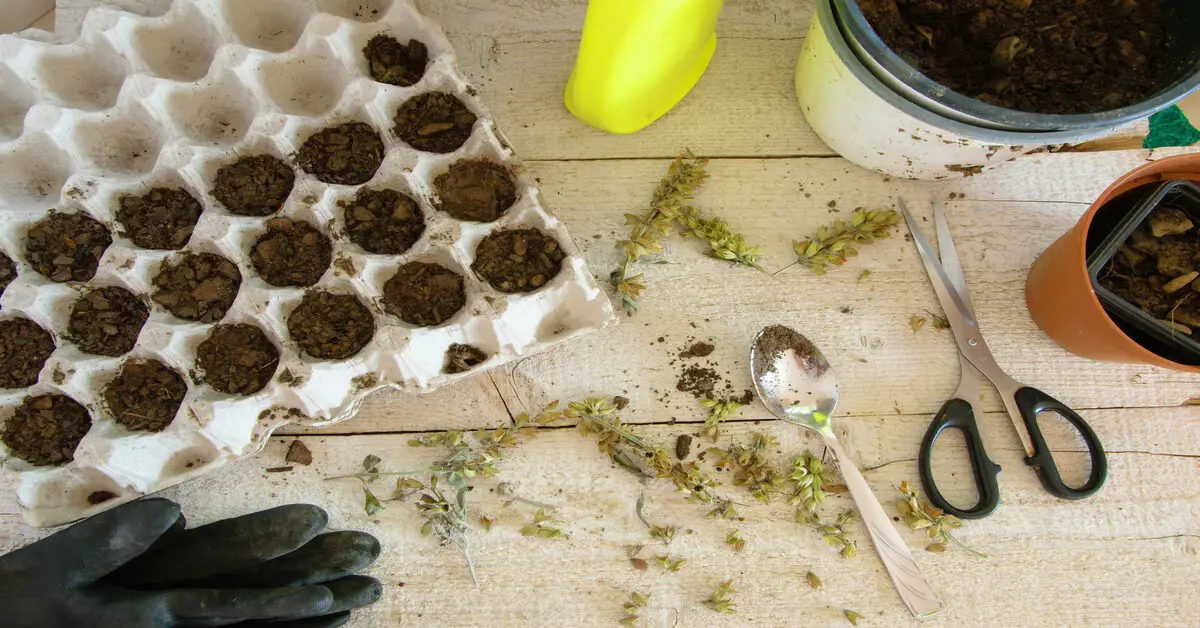
Any container can be used to start seeds indoors, as long as it is at least 3-3.5 inches (7.5-9cm) deep and can be of any size.
A DIY container can be made from sterilized household items. Such as coffee cans, paper cups, milk or juice cartons, baking trays, or tupperware. Be sure to punch a few drainage holes.
Below are some commonly recommended seeding containers:
- Seed trays – Ready-made seed trays can be purchased from any home gardening store. Purchased seed trays are usually made of plastic or fiber. Plastic containers can be sterilized and reused. While fiber ones dry out more quickly and are good for aeration.
- Paper towels – Annual flowers and vegetables sprout more quickly. And they can be tested for germination with paper towels before sowing.
To test, spread out 10 seeds 1 inch apart on a damp and thick paper towel. Make sure to rinse seeds with clear water.
Fold or roll up the paper towel and place in a plastic bag, closing partway. Set in a warm location (65-70°F or 18-21°C).
After about a week, unroll and check the paper towels daily. For sprouted seedlings, which can then be sowed normally. If no seeds sprout, replace the seeds.
- Egg carton – Egg cartons are an economical and flexible option. As they can be cut into smaller containers. Paper egg cartons are also compostable and can be placed directly into the ground.
- Egg shells – As they break down, egg shells release calcium and nitrogen. Which help plants thrive. Their size makes them great for growing herbs and small seedings.
- Peat pot – Peat pots, made of compressed peat, are good for plants that hate transplanting. As the pot itself can be planted as well. They are also good for larger seeds.
Sowing Seeds for Germination
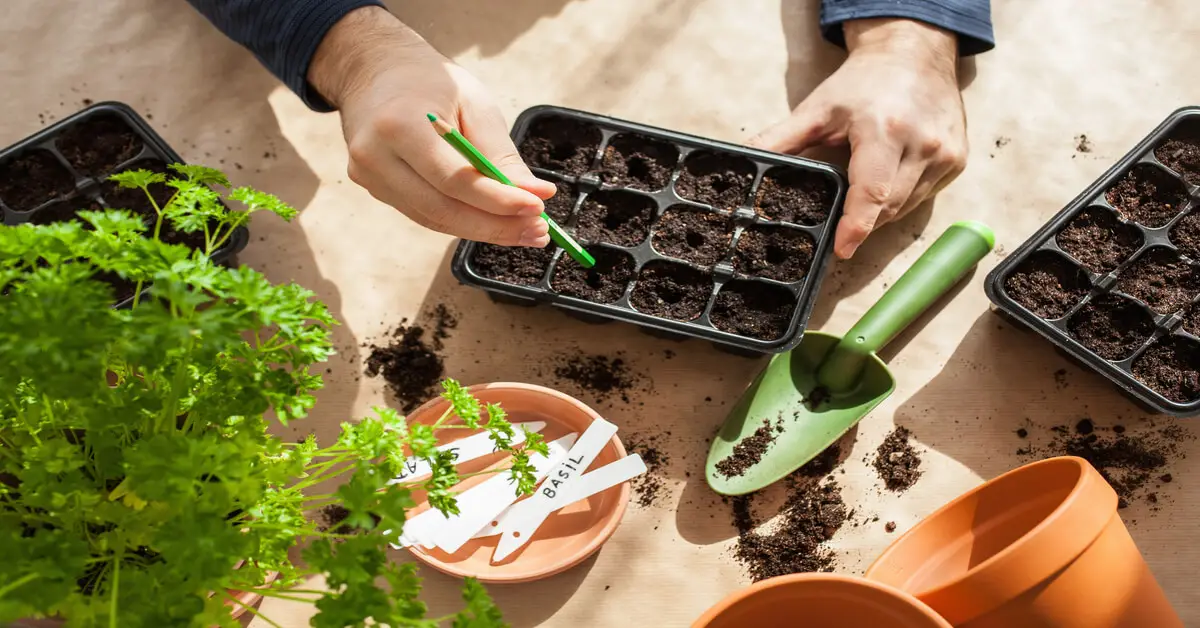
To ensure your seeds germinate, consider these factors below:
- Seed Starting Soil – The best seeding mixture is 50% solid material, 25% air spaces (for roots to grow), and 25% moisture.
Make your own ideal starting medium by mixing ⅓ to ½ sphagnum or peat moss. With the remaining parts using vermiculite or perlite, or a combination of the two. Avoid sand as a draining medium, as it provides no nutrients and is not sterile.
- Sowing depth – Most seeds can be covered with one or two times their thickness with a dry sowing medium. Then watered gently with a fine mist of room temperature water.
Very fine seeds, such as petunias or begonias, should not be covered with any sowing medium. But merely pressed gently and not too deeply into the surface of the sowing medium. With a pencil or gentle spray of misting water.
Seeds that need light to germinate should also be pressed gently onto the sowing medium in the same way as fine seed.
- Watering – During germination, moisture and humidity are critical. The germinating medium should be kept evenly moist – not too dry and never soaking wet. Too little moisture will prevent germination, and too much moisture will cause seeds to rot.
If the sowing mixture was previously watered and allowed to drain for several hours before sowing. It should be perfectly moist already and require little additional watering after covering. With a plastic or glass container.
When the seeding medium is dry to the touch, use a gentle spray bottle to mist and moisten the soil.
- Lighting – Some seeds require light to germinate. While others need to avoid light to germinate.
When light is needed, do not cover the seeds, but simply press the seeds gently into the soil. Place containers directly under fluorescent lights or household cool white lights. For 24 hours a day to encourage germination.
If light is to be avoided, cover the seeds 2-3 times their thickness with the seeding mixture.
If light-avoiding seeds are too fine to be covered, consider placing the containers in total darkness. Or cover with newspaper or black plastic.
- Temp & humidity – Most seeds germinate in room temperatures between 70-75°F (21-24°C). Some may require slightly cooler temperatures.
To maximize humidity and limit watering, which may dislodge or drown seeds. Consider wrapping or covering containers in plastic or glass after germination. Avoid contact between the wrapper and seeding medium by using toothpicks to prop up the plastic.
As the germinating container may be cooler due to evaporation, a gentle bottom heat is recommended. Consider using a heat mat or place on top of a warm surface such as a refrigerator top.
- Labeling – Labels are very important as it’s easy to forget what was sown where. Heavy white plastic markers are durable and reusable and can be written on with pencil. They can be transplanted with the plant into the garden to identify them later as well. A record book is also helpful in tracking plants from year to year.
Seedling Care
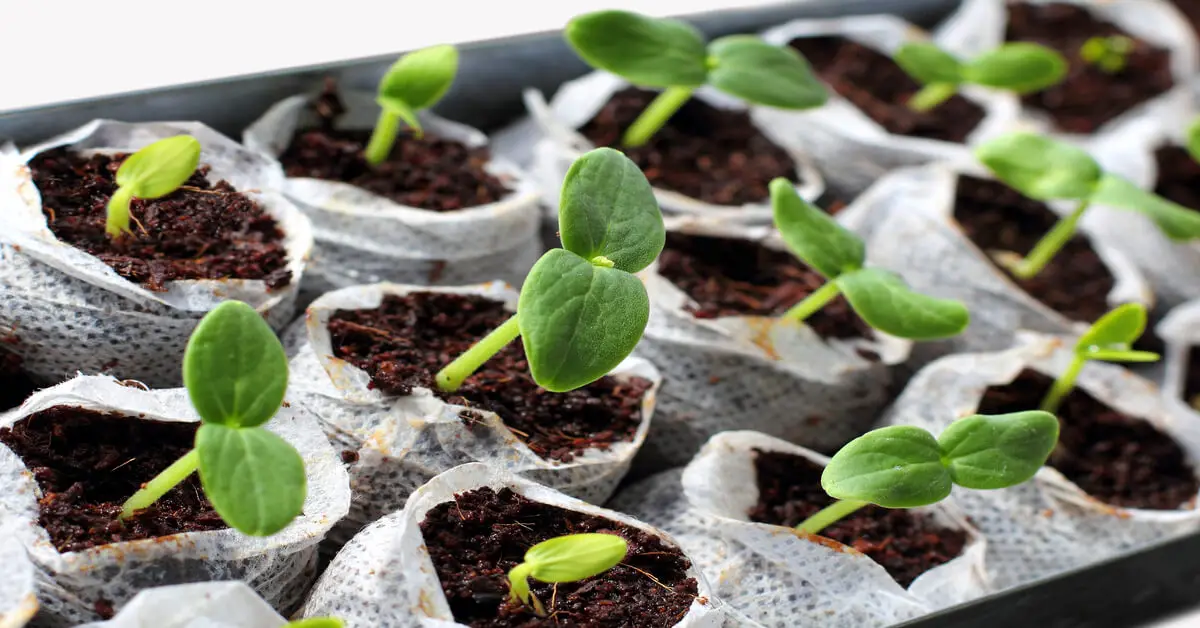
- Lighting – Once seedlings develop, consider cutting the light down. To 12-14 hours per day. Keep the lights 3-6 inches above the seedlings as they grow by raising lights or lowering shelves.
If leaves start to wilt or look burned, lights are too close, and should be placed further away. If seedlings start to grow tall and leggy, they are reaching for light sources too far away. So, consider lowering the lights.
When growing on the edge of a windowsill, make sure to rotate containers regularly to ensure even light.
- Watering – After germination, water is critical for seedlings. As root systems are undeveloped, the potting medium should always be kept moist. But never too wet, or the seedlings will drown. Check every day to see if water is needed. Water from the bottom until the seedlings get to a healthy size.
- Thinning – Always sow twice as many seeds as the number of plants you’ll actually want to grow.
This is because not all seeds will germinate. Some seedlings will need to be thinned (or eliminated). To ensure that the remaining seedlings have adequate room for roots to develop.
Use scissors to snip out weak or crowded seedlings. To ensure enough room to grow (~1 inch or 2.5 cm apart or check seed packets for exact spacing).
- Fertilizing – Once true leaves start to grow, begin fertilization.
The first growth from seeds are usually food storage cells called cotyledons which resemble leaves. However, true leaves will grow a bit later.
Use a soluble plant food such as Miracle-Gro at one-quarter label strength when seedlings are small. Increase strength to one-half as the plant matures. It is better to fertilize weekly with diluted strength solution. Than monthly at full strength to ensure even growth.[1]
Transplanting seedlings to Garden
While it’s possible to transplant seedlings directly from a smaller seed flat into the garden, this is generally not advised.
Seedlings grown together in small flats should be transplanted to an individual and larger container first before the garden. Seedlings grown in their own individual pots do not need to be transplanted. Into another pot before transferring to the garden.
Once roots start to show through the container walls, plants are ready to be transplanted to the garden.
The best time to transplant plants is after the last spring frost date. If the weather is still too cold, consider leaving the plants in their individual containers. For up to four weeks until the weather is right.
Tomatoes, eggplants, and peppers should wait a little longer after the frost to ensure the ground is warm enough.
- Hardening off – One week before moving plants outdoors, consider hardening off slowly. This process involves placing the plants in a sheltered shady area (e.g. under a tree or shrub) slowly. If it’s too cold at night, move them back inside.
After 2-3 days of gradual outdoor exposure, consider giving them a half day of sun. Increasing gradually to a full day. Make sure plants are well watered during the hardening off period. [2]
References:
[1] Reilly, A. (1989). Starting Seeds Indoors: Storey’s Country Wisdom Bulletin A-104 (Storey Country Wisdom Bulletin). Storey Publishing, LLC.
[2] Polomski, R. F., Shaughnessy, D., & Snipes, Z. (2022, May 9).Starting Seeds Indoors | Home & Garden Information Center. Home & Garden Information Center | Clemson University, South Carolina. https://hgic.clemson.edu/factsheet/starting-seeds-indoors/.

