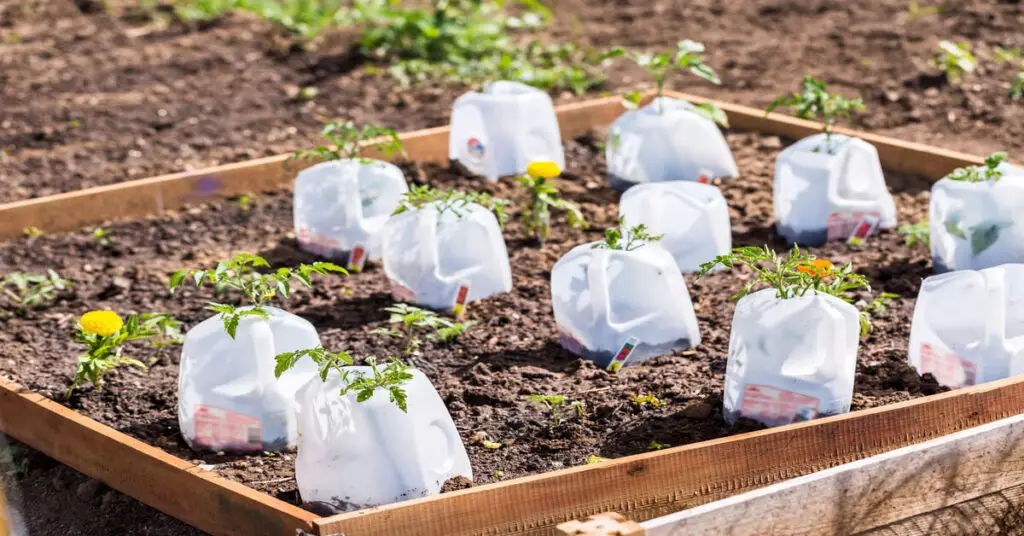
Milk jug gardening is a sustainable and innovative gardening idea. Its primary use is for winter sowing seeds outdoors earlier by creating a mini milk jug greenhouse. By sowing seeds outside, you don’t have to worry about hardening them off before transplanting them[2].
While a lot of people only use milk jugs for winter sowing containers, there are other gardening uses for them. Creative gardeners have turned them into planters, watering cans, bird feeders, and even art. Milk jugs can also provide people in urban areas with an affordable way to grow a garden on porches or patios.
In this article, we will cover everything you need to know about milk jug gardening. We’ll explain what it is, how it works, and give you some tips and tricks for success.
What Is Milk Jug Gardening?
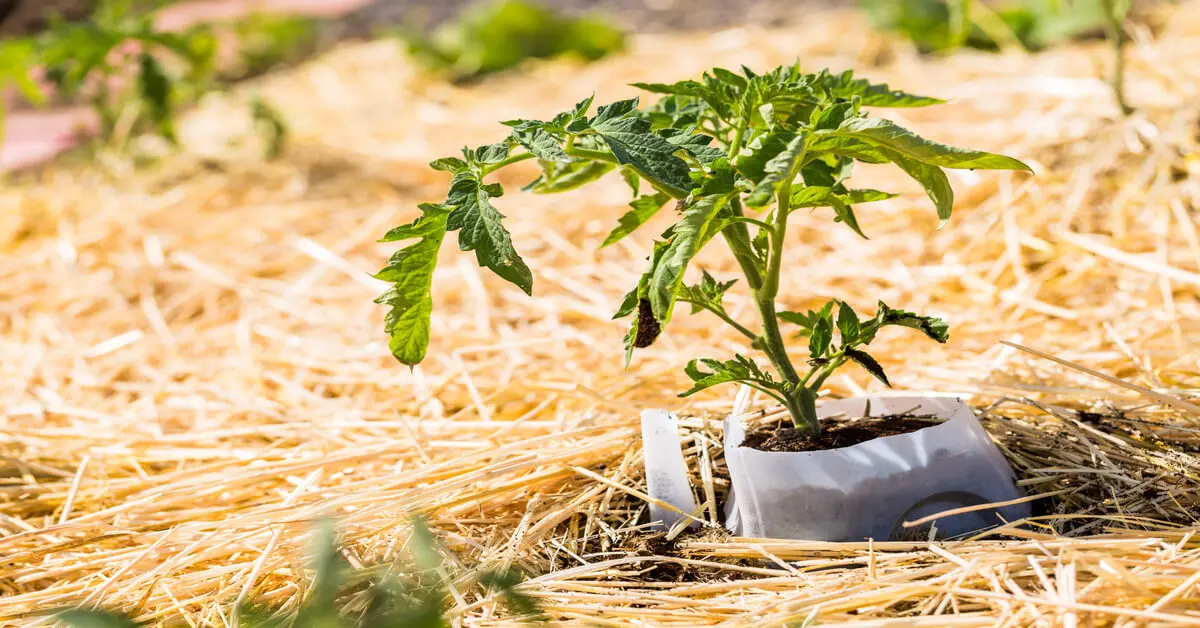
Milk jug gardening is the upcycling of milk jugs into eco-friendly plant containers. Originally, milk jug gardening was only used for winter sowing seeds. There are now several other ways people use milk jugs for gardening.
Winter sowing seeds extends the length of the growing season. It allows you to plant seeds earlier than normal. Milk jugs work really well for winter sowing seeds outdoors.
Milk jugs can also be used as planters for a low-cost way to add gardening space in urban areas. They can be placed on the ground, stacked on tier plant stands, or attached to walls for vertical gardening.
We’ve included a milk jug gardening ideas section below. It includes detailed descriptions of the many ways people now use milk jugs in gardens.
Benefits Of Milk Jug Gardening
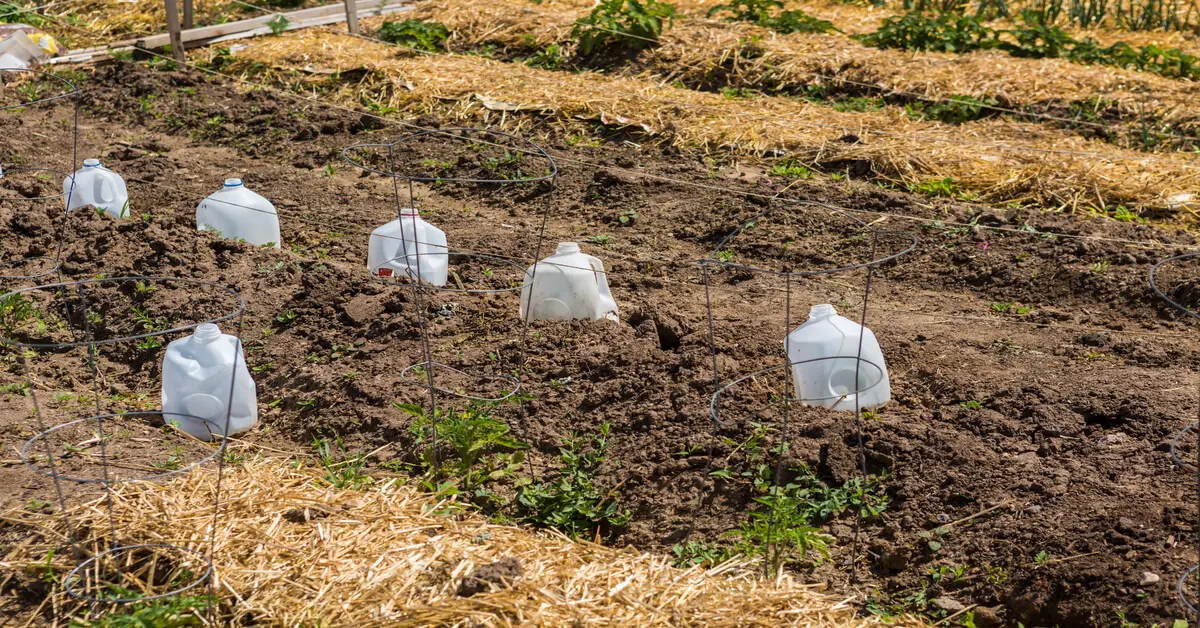
One of the biggest benefits of a milk jug garden is environmental sustainability. Milk jugs are single-use plastic containers that take thousands of years to break down in landfills.
By using upcycled milk jugs for gardening, you’re keeping plastic out of landfills. You’re also making them multi-use which is more sustainable.
Growing your own herbs or vegetables in milk jugs reduces greenhouse gasses. Produce purchased at the grocery store adds to greenhouse gasses due to its transportation. Any produce you can grow at home helps reduce greenhouse gas emissions.
Affordability and accessibility are also benefits of milk jug gardening. If you’re already purchasing milk to drink, repurposing the containers into milk jug planters is free. Reducing the cost of gardening makes it more accessible to everyone.
The flexibility and versatility of milk jug gardening are also benefits. You can use milk jugs as regular planters, hanging planters, and seed starters. They can be used for outdoor plants, houseplants, container planting, and vertical gardening.
Milk Jug Greenhouse
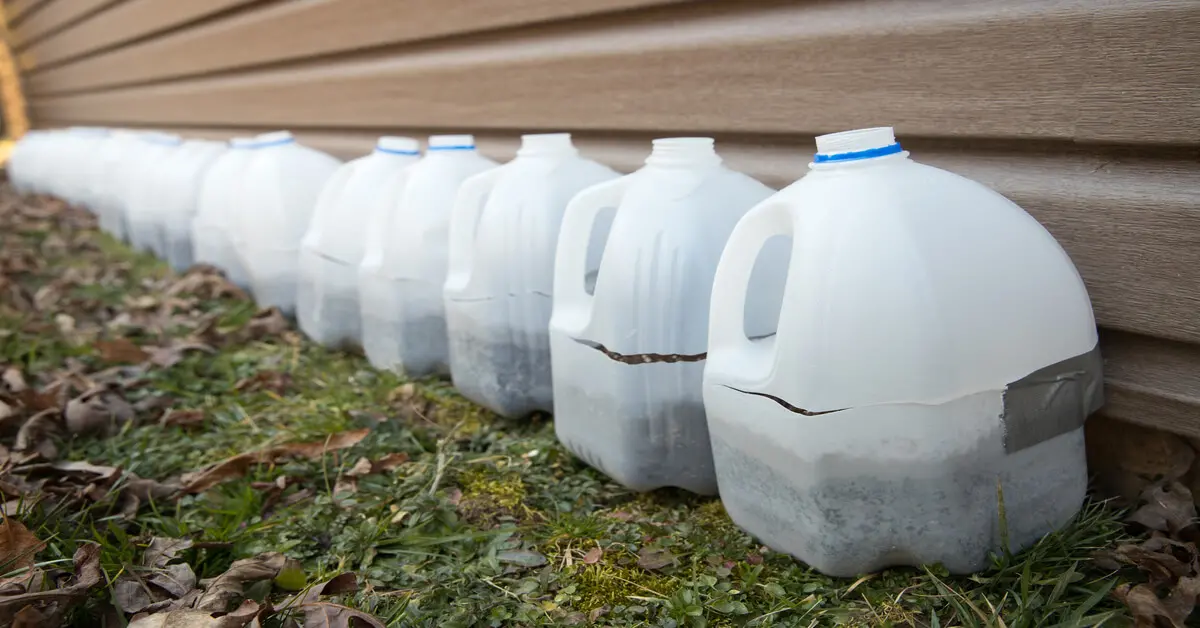
Milk jugs work so well for winter sowing because they create a miniature greenhouse. The solar radiation from the sun enters through the plastic and gets trapped inside. This thermal energy creates heat which keeps the soil and plants inside the jug warm.
This greenhouse effect creates the perfect environment for winter sowing seeds outside. However, it can also be used to seed start just about any plant inside or outside.
It’s also a great way to grow stem and leaf cuttings from tropical plants. You can place cuttings in a milk jug with soil and allow them to establish roots.
It’s important to keep the soil moist when plant cuttings establish roots. A milk jug greenhouse will help the soil retain moisture while roots grow.
How To Start Milk Jug Gardening
Making a seed-starting greenhouse out of a milk jug is pretty simple. Before starting, make sure you have all of the supplies and tools you need.
- Milk jugs*
- Box cutter for cutting through the plastic jug
- Duct tape
- Drill to make drainage holes
- ¼ inch drill bit
- A piece of scrap wood to place under the jugs when you drill drainage holes
- Soil
- Plant seeds
*The best milk jugs to use are made of plastic. Unfortunately, milk carton gardening doesn’t work well. The paper-based cartons tend to break down too quickly outside.
Step-by-step Instructions To Start Milk Jug Gardening
- Collect plastic milk jugs to use. You can use half-gallon jugs but I prefer to use gallon jugs.
- Rinse out the milk containers with soap and water. Make sure they’re completely clean so they don’t take on a sour milk smell.
- Cut into the milk jug beside the base of the handle. Continue cutting around the container to the other side of the handle. Leave about an inch of plastic intact at the base of the handle to act as a hinge.
- Drill your drainage holes in the bottom of the milk jug. Place the jug on your piece of scrap wood. Drill 10 to 12 holes along the bottom with a ¼ inch drill bit.
- Add three inches of moist potting soil to the bottom half of the milk jug.
- Plant your seeds in the soil. Follow the seed pack instructions regarding spacing and planting depth. Label your milk jugs so you don’t forget what’s planted in each one.
- Using duct tape, seal up the cut you made around the jug. This will help seal in heat which is necessary for seeds to germinate and heat retention.
- Do not put the lid back on top of the milk jug. The small opening at the top of the jug allows for air ventilation which is necessary for plants to thrive.
- Place your containers outside in a sheltered area. Underneath roof soffits or eves that are east-facing work best. This will keep them from getting too much moisture or sunlight. If you don’t have the right space, check them more often for moisture and heat issues.
When the threat of frost has passed in your area, you can transplant your seedlings into your garden. Gently remove them from the jug to minimize damage to the roots.
Tips And Best Practices For Milk Jug Gardening
Managing watering and drainage is critical for successful milk jug gardening. Make sure you drill plenty of drainage holes so the soil doesn’t stay soggy.
Also, check the soil often to make sure you don’t need to water them. The soil should stay moist but not soggy.
Positioning milk jug planters for optimal sunlight is also important for success. The containers need direct sunlight to stay warm, but you don’t want to burn plants inside either.
It’s best to place the containers to the east of your house. This will allow them to get direct sunlight in the morning. It will also prevent them from getting the harsh afternoon sunlight.
If you get a particularly hot, sunny day you can remove the tape and open them to keep them cooler. If you find the sun is burning up your seedlings, consider painting the milk jugs a light color. This reduces the amount of direct sunlight plants get, reducing the risk of burning plants.
Cold snaps can happen in late winter and early spring. If you’re expecting the temperatures to drop below normal levels, cover your milk jugs with a thick blanket. This will help to keep them warm.
Best Plants For Milk Jug Winter Sowing
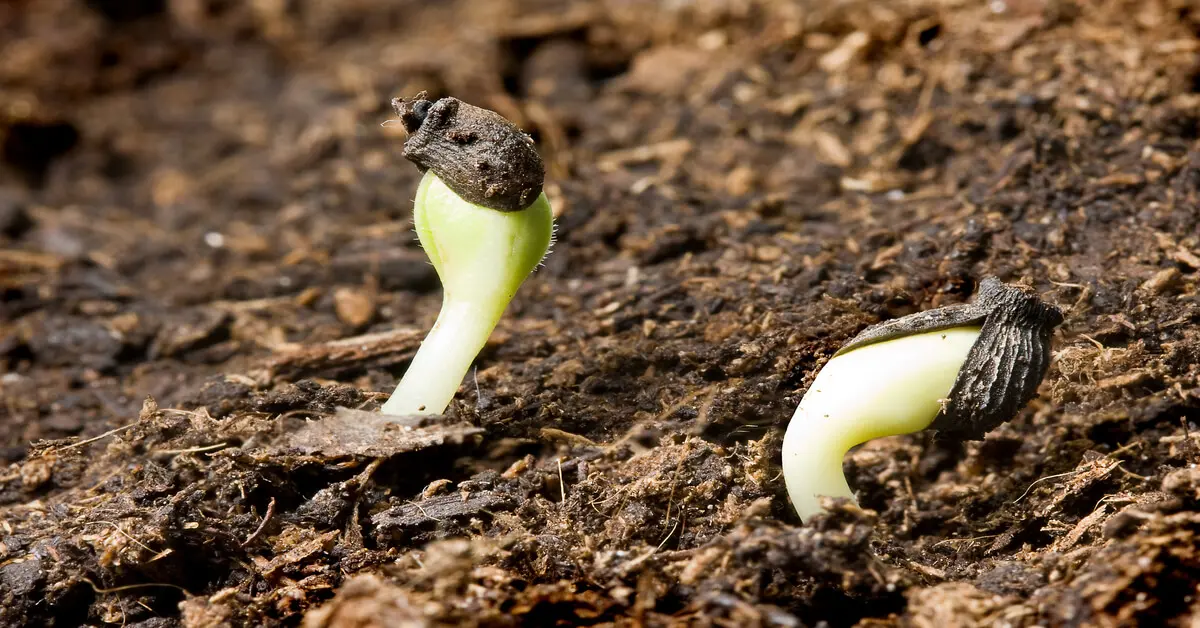
Starting seeds in milk jugs during winter can work for a lot of different plants. You can use them to start vegetables, herbs, and flowers. However, the time you choose to sow your seeds is important for successful germination.
Below, we’ve broken plants up into three categories based on when they should be sown in milk containers. This will help you select the appropriate plants to sow in milk jugs during winter, early spring, and late spring. In each section, we’ve also listed some of the best seeds for winter sowing in milk jugs.
Plants To Sow In Winter (December, January, February)
You can sow perennials and hardy annuals in milk containers in winter[1]. You should also plant seeds that require cold stratification before germinating at this time. Cold-tolerant vegetables can also be sown in winter in milk jugs.
Some examples of seeds to sow in winter include:
- Butterfly weed
- Brussel sprouts
- Catmint
- Chinese lantern
- Coneflower
- Hellebores
- Kale
- Lavender
- Liatris
- Lobelia
- Milkweed
- Pansies
- Parsley
- Petunias
- Oregano
- Ornamental kale
- Spinach
- Thyme
Plants to Sow In Late Winter (February & March)
In late winter, you can start sowing seeds for spring veggies, herbs, and tender annuals in milk jugs[1]. Seeds to sow in late winter include:
- Basil
- Bok choy
- Broccoli
- Carrots
- Cauliflower
- Cilantro
- Cosmos
- Lettuce
- Marigolds
- Tithonia
- Snow peas
- Zinnia
Plants to Sow In Early Spring (March & April)
Sow seeds for summer vegetables in your milk jugs in early spring[1]. Summer vegetables to sow in early spring include:
Milk Jug Gardening Ideas
We’ve discussed how to use milk jugs for winter sowing seeds. However, there are a ton of other milk jug garden hacks to consider. They can be used to hold plants or simply improve your outdoor garden space.
Turn A Milk Jug Into A Hanging Planter
Cut the top off of your milk jug and drill a hole on each side. Also, drill a few drainage holes in the bottom. Cut two pieces of string or metal wire that are 1.5 to 2 feet long.
Loop one end of one string through a hole and tie a knot to secure it. Pull the string through the hole on the opposite side and tie a knot. Repeat the process with the other piece of string on the remaining two sides.
Now you can loop both strings over a hook and you have a milk jug hanging planter.
Make A Milk Jug Watering Can
Milk jugs have handles that make them perfect to repurpose as watering cans. Simply drill a few holes in the lid of your milk jug to turn it into a watering can.
Create a Milk Jug Bird Feeder
Birds that eat insects can benefit your garden and reduce the need for pesticide use. Create a milk jug bird feeder to place in your garden to attract more birds. All you need is a piece of string and two 18-inch long wooden dowels.
Cut a 3-inch wide by 4-inch tall hole in each side of the milk jug. Below each square drill a hole big enough for your wooden dowels.
Stick your wooden dowel through one hole then feed it all the way through the hole on the opposite side. This creates a place for the birds to perch when they feed.
Drill two holes in the lid of the milk jug. Feed your string through the holes and tie them in a knot on the inside of the lid. Now you can screw the lid onto the jug and hang your new feeder from the string.
Build A Garden Totem With Milk Containers
Adding art to your garden can help beautify the space. You can build a garden totem using recycled milk jugs.
Cut a hole in the bottom of the jug that is the same size as the hole in the top. Make sure it’s directly below the top opening.
Paint the jugs with acrylic paint in a style that matches your backyard decor. Place a 1.5” diameter piece of PVC pipe in the ground then stack your painted milk jugs on it. Now you have a custom garden totem to liven up your garden.
References:
[1] Flowers-Kimmerle, N. (2019). Winter seed sowing. University of Illinois, Illinois Extension.
[2] Voll-Wallace, L. (2021). Starting Seeds in Winter. Pennsylvania State University, Penn State Extension.

