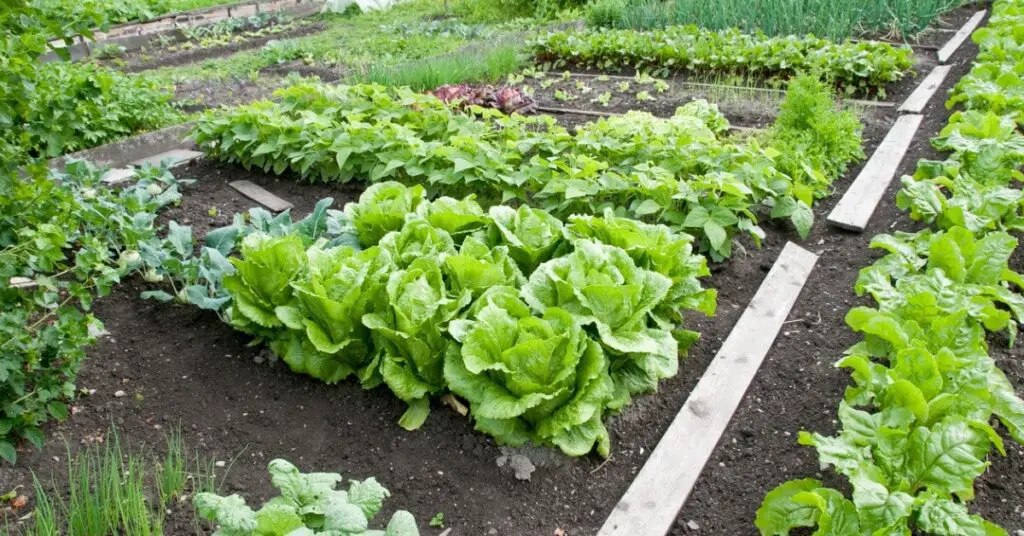
The no-till gardening method, gaining popularity among gardeners, offers a sustainable approach to cultivating vegetables and fruits. Contrary to traditional practices that involve tilling and weeding, no-till gardening focuses on maintaining the soil’s natural ecosystem. This method is particularly advantageous for beginners looking to start a garden with less effort and more ecological benefits.
The Essence of No-Till Gardening
No-till gardening, known as sheet mulch or lasagna gardening, minimizes soil disturbance. This method involves layering organic materials like compost, wood chips, and cardboard directly on the vegetable garden bed. These layers enrich the soil and suppress weed growth, eliminating the need for frequent tilling.
Step-by-Step Guide to Starting a No-Till Garden
- Choosing the Location: Find a spot in your garden that receives sufficient sunlight, which is essential for most vegetables and plants. If you’re in a region with intense sun, provide shade to protect your plants.
- Preparing the Site: Remove existing weeds and cover the area with cardboard or newspaper layers. This suppresses weed growth and provides a base for your no-till raised garden bed.
- Building the Beds: Construct raised beds if needed, using materials like cedar wood. Fill them with a mixture of topsoil, compost, and organic matter. The raised bed design aids in natural aeration and drainage.
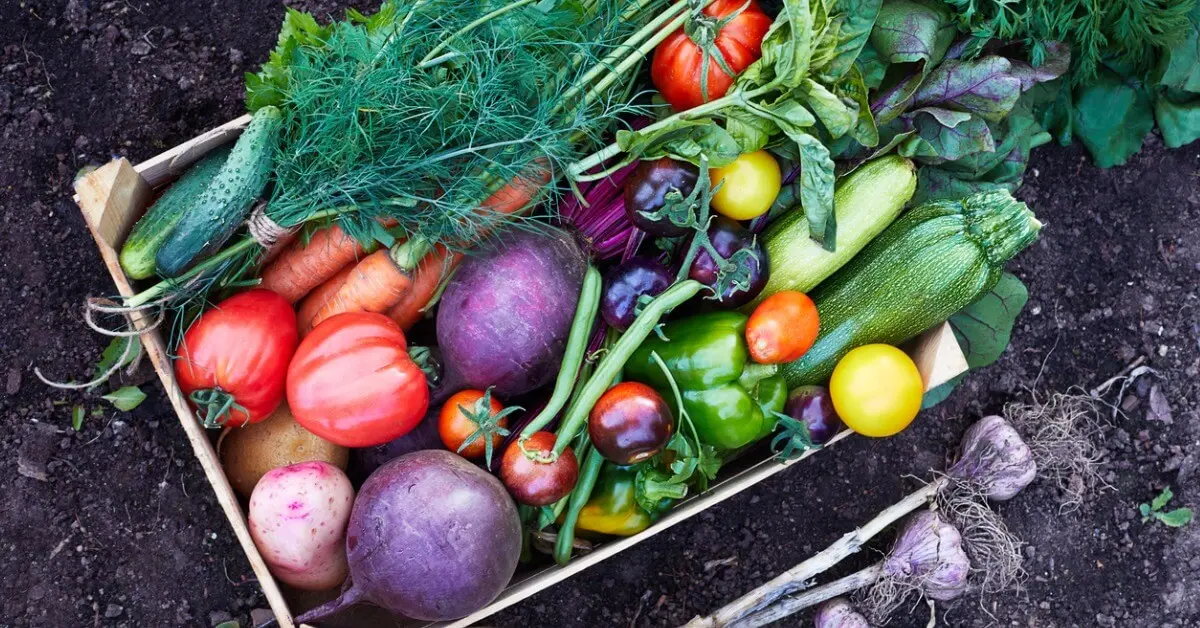
- Plant Selection: Choose a variety of vegetables and fruits that grow well in your climate. Some plants might not adapt to the no-till method, so select accordingly.
- Soil Composition: Mix peat moss, compost, and well-draining soil to create a nutrient-rich environment. This combination supports vigorous plant growth and healthy root systems.
Advantages and Challenges of No-Till Gardening
Pros:
- Simplifies garden maintenance by reducing the need to weed and till garden.
- Enhances soil health by preserving its natural structure.
- Improves water retention and reduces erosion.
- Encourages beneficial soil organisms like earthworms.
Cons:
- Initial setup can be labor-intensive.
- Requires patience for the organic layers to decompose.
- Attracts certain pests due to the organic material used.
Maintaining a No-Till Garden
- Layering Strategy: Regularly add compost, mulch, and organic matter layers to nourish the soil.
- Weed Management: Use thick layers of mulch like wood chips or straw to keep weeds at bay.
- Watering Techniques: Ensure even moisture distribution, especially during dry periods.
Comparing Traditional Tilling vs. No-Till Methods
Traditional tilling disrupts the soil, often leading to compaction and nutrient loss. No-till gardening, on the other hand, focuses on building the soil from the top down, mirroring natural processes.
Transitioning to No-Till Gardening
Starting a no-dig garden is straightforward. Cover your garden bed with layers of cardboard, compost, and mulch. This method is ideal for new and established gardens, simplifying the transition from traditional to no-till gardening.
Tips for Successful No-Till Gardening
- Begin with a layer of cardboard or newspaper to suppress existing weeds.
- To build healthy soil, add green plant material, compost, and wood chips.
- Use cover crops in the off-season to add nutrients and organic matter to the soil.
Frequently Asked Questions
When to Start: The best time to start a no-till garden is in the fall, allowing the layers to decompose over the winter.
Materials Decomposition: The decomposition rate for materials like cardboard and hay varies based on environmental conditions. Normally, it takes 3-4 months to decompose fully.
Conclusion
The no-till gardening offers a natural, sustainable way to garden. By mimicking nature’s processes and reducing soil disturbance, gardeners can create a productive and healthy environment for growing various plants. With less work and more ecological benefits, no-till gardening is an excellent choice for beginners and experienced gardeners.