Some of the links in this post are affiliate links. This means if you click on the link and purchase the item, I will receive an affiliate commission at no extra cost to you.
Growing a flourishing garden takes some tender loving care. That is why you may want to consider worm casting or worm composting (vermicomposting) to provide nutrients in your garden beds.
In this article, we will discuss what worm composting is, how to do it, its many benefits, and everything in between.
What is Worm Composting?
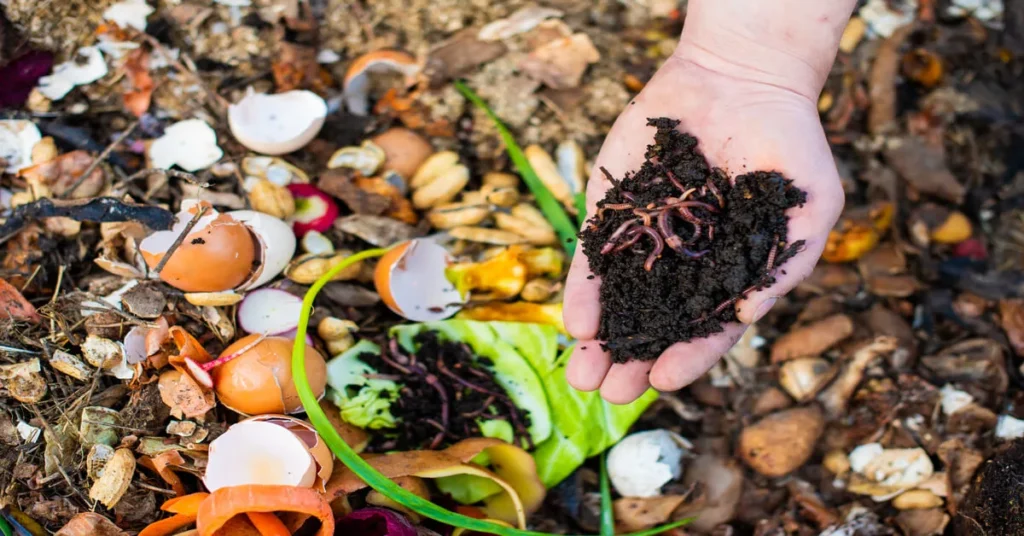
Worm composting, formally known as vermicomposting, is the process of using worms, typically red wiggler earthworms, to decompose organic matter and convert it into fertilizer. Common earthworms, also known as nightcrawlers, are also used for vermicompost.
The worms perform this process by consuming the organic matter and using their unique digestive systems to produce vermicast. Worm castings or vermicasts supply gardens with a tremendous amount of nutrients, including nitrogen, phosphorus, and potassium [1]. It is also a form of cold composting.
How to Start Worm Composting
So, you want to learn how to worm compost? Well, we are here to help! Be forewarned there is a bit of prep work and forethought that goes into composting with worms. That is why we have created a step-by-step guide on how to get started below.
The worm bin
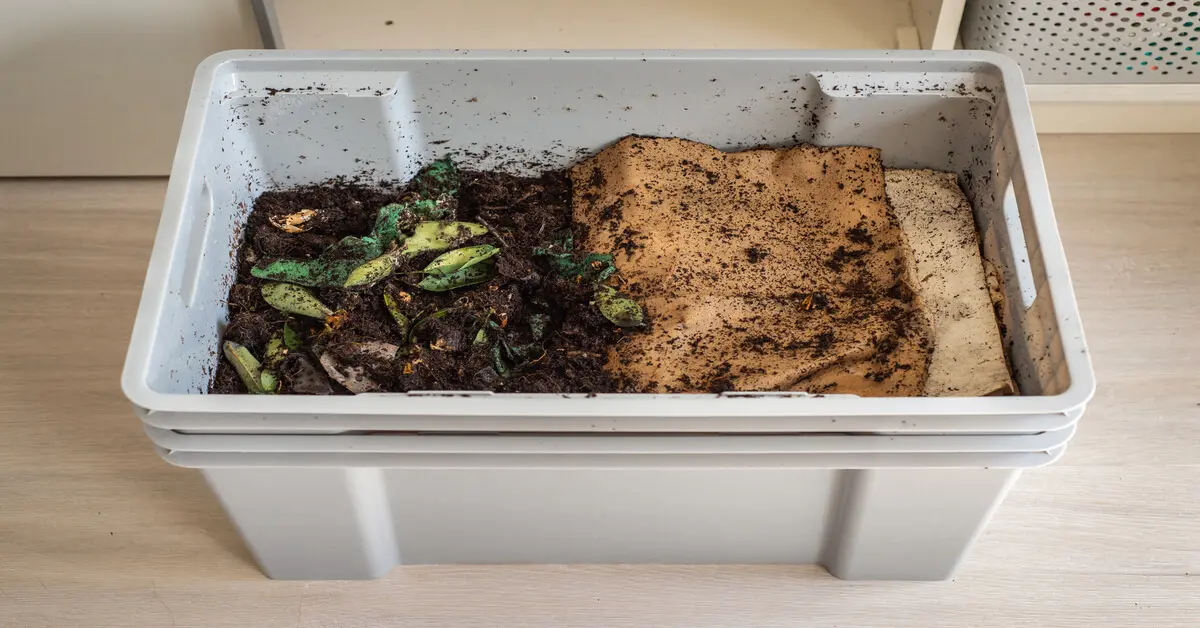
A worm bin is for housing worms and provides a nourishing environment for them with moisture, darkness, food, and ventilation. Adequate darkness and ventilation will come from the bin you choose.
There are a variety of worm composting bin choices available.
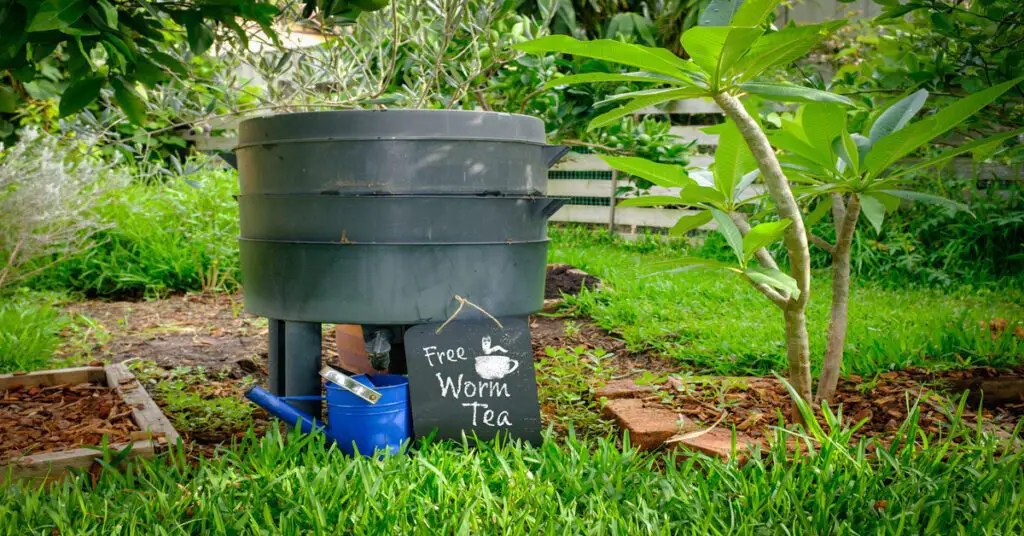
- Worm towers
- Wooden bins
- Opaque plastic totes
If you choose a plastic tote, ensure that it receives proper drainage and ventilation by drilling holes into the sides and bottom of the container. It is also important to note that the tote should not sit directly on the ground, or else it will not drain properly. You especially want to elevate it to collect worm tea, which we discuss later in this article.
The bin you choose should be shallow, especially when using red worms, as they are surface dwellers. A tote that measures 1′ deep, 1′ wide, and 2′ long will allow you to house anywhere from 2 lb to 2 1/2lb of worms.
Choose the worm bedding
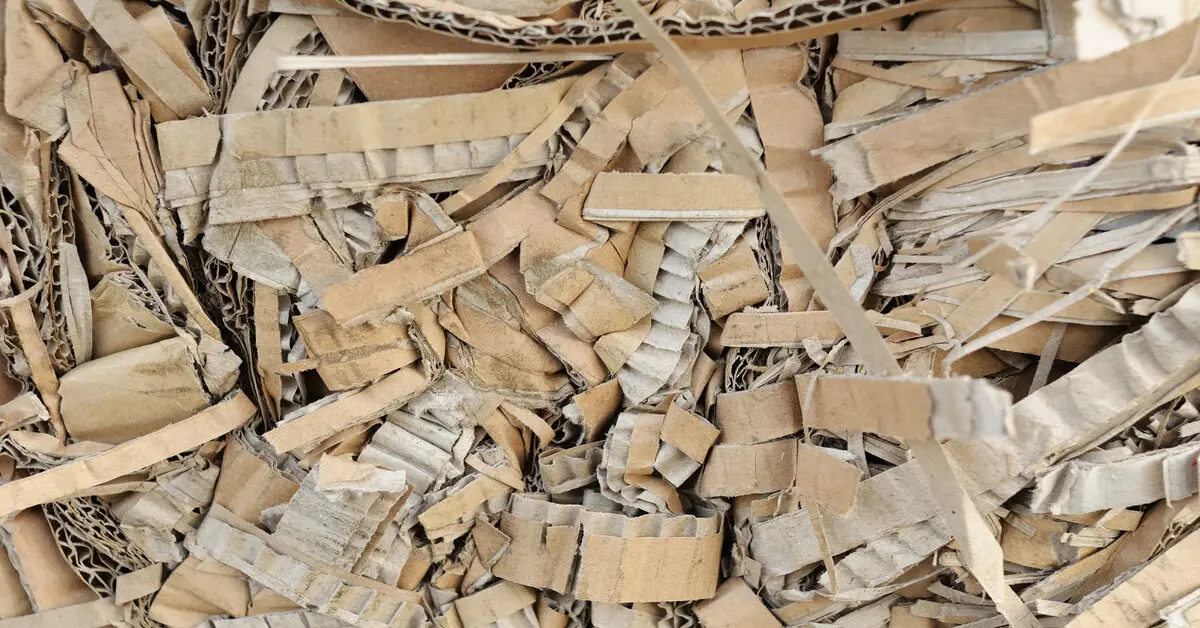
A worm bin needs at least two of the following bedding/substrate options.
- newspaper strips
- straw (without seeds)
- coir
- small pieces of corrugated cardboard
- leaves
The bedding will provide the worms with the moisture levels and a substantial part of the food they need.
The worms will also need a grit-like substance to aid in digestion.
- ground egg shells
- garden soil
- vermiculite
- crushed oyster shells
- calcium
Mix the bedding with the grit in the bin and add water until the texture and moisture level are that of a squeezed sponge. Ensure that there is always a layer of bedding covering the worms and food within the bin.
Find a location
Where you place your worm bin is critical. The worms perform best when kept in temperatures of 55°F and 77°F or 12.78°C and 25°C.
Keeping your worms indoors in a pantry, under the sink, or in a garage can aid in controlling temperatures.
If you keep the bin outdoors, choose a location on the north-facing side of your home, temperatures fluctuate less in that direction. Additionally, it is critical to protect the bin from wind, rain, and other destroying elements. You can do this by placing the bin under a porch or deck. If you live in an area with frigid winters, you may need to bring it inside for the season.
Introduce the worms
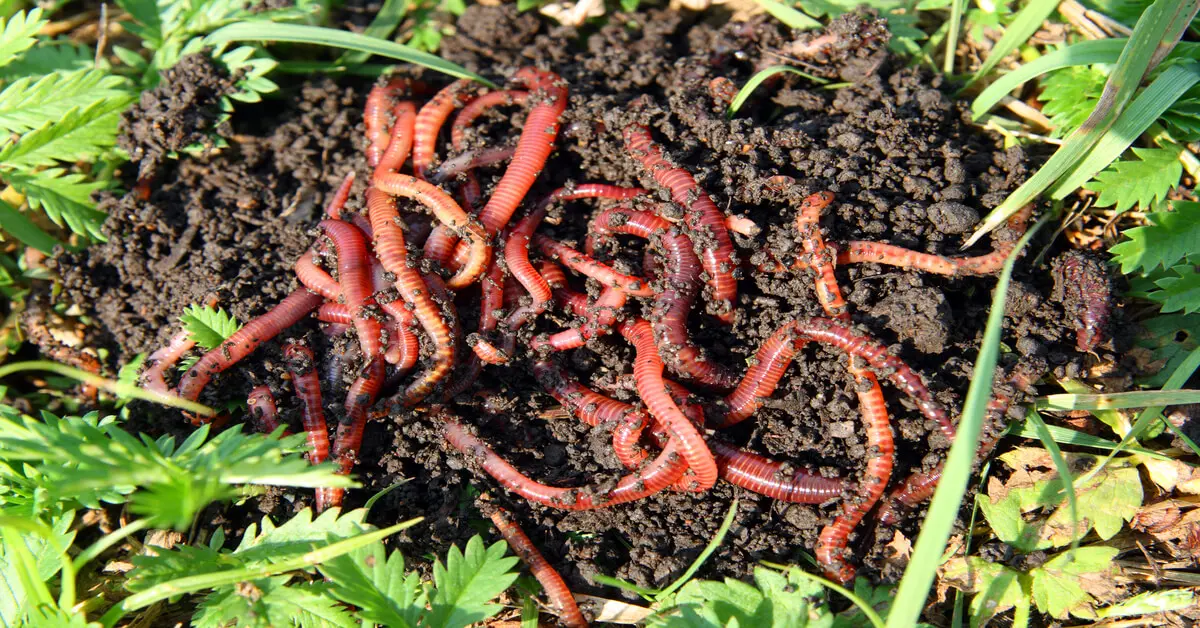
There are three introductory methods you can choose from.
- Add your food scraps and allow them to decompose for a few days before placing the worms in the bin.
- Place the worms directly into the bin with the bedding without any food and allow them a few days to acclimate.
- Place the food and worms in at the same time.
There is no right or wrong method, but each requires observation of the worms’ feeding habits. Always ensure there is a layer of bedding over the worms and food and replenish as needed.
General care and maintenance
As previously stated, worms require specific conditions in order to thrive; maintaining your bin and worms all comes down to ensuring the proper conditions. Below are some general care tips and maintenance requirements.
- The bin and worms should always be in temps of 55°F and 77°F or 12.78°C and 25°C.
- The worms need moisture levels of 75% to 85%.
- Replenish the bedding mixture as needed and assure that there is always a layer covering the worms and food
- Ensure there are ventilation holes on the sides and small drainage holes on the bottom.
- Move worms inside or place them in the center of mature compost with food during the winter.
- Only feed them as much as they can handle in a day or week. Under ideal conditions, the worms can eat half of their weight in a single day.
How Fast is Worm Composting?
To produce enough compost worthy of harvesting may take up to six months. Although, this estimate can vary based on many factors, including the number of worms you have to the ratio of food you provide.
Types of Worms for Vermicomposting
Red wigglers, scientifically known as Eisenia fetida, are the most common type of worm for vermicomposting. They are the preferred species by many gardeners. They consume more food and produce compost at a faster rate, although it can still take up to six months.
Common earthworms, also known as nightcrawlers, can be used for vermicomposting as well. They help move and air the soil because they dig deeper into subsoil than red worms, which are surface dwellers.
And don’t be alarmed if you see small white worms in your composting bin, this means your worms have reproduced and they are the babies.
Seasoned gardeners will mix red worms and common earthworms into their bins for optimum results.
What do Worms Eat?
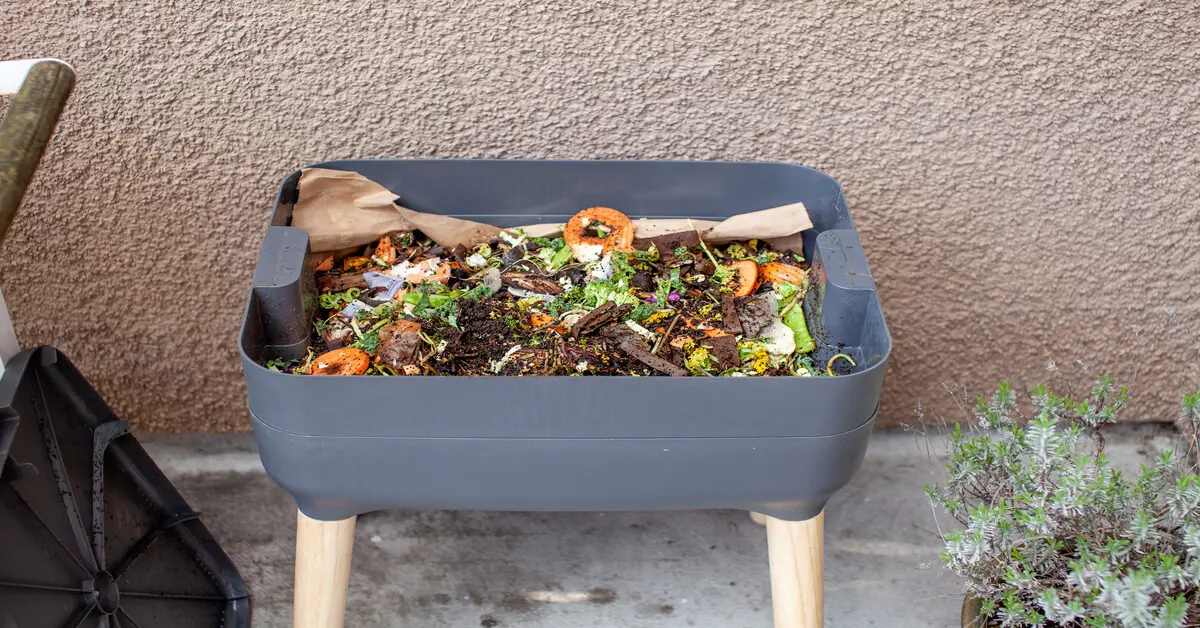
Worms will eat almost anything you put in their path, including a wide variety of fruit and vegetable scraps, coffee grounds, and tea leaves. But to keep your composting bin healthy and thriving, there are a few food sources you should avoid.
- Oils, butter, and oily food. Worms breathe through their skin, and oils and butter can smother them.
- Acidic, citrusy, or spicy foods, including any peels or onions. These foods can create an acidic environment that can become toxic for worms.
- Pet waste. Animal waste can contain many pests that are harmful to worms.
- Dairy foods and drinks. They can create anaerobic conditions and odors.
- Poultry, meats, and fish, including their bones. These foods will rot, invite pests, and create foul odors.
- Processed foods. The preservatives in pre-made and processed foods can turn off composting worms from eating, and you do not want their byproducts contaminating your garden.
If you are uncertain whether or not an item is safe for your worms, it is best to proceed with caution and research the item or dispose of it by other means.
How to Use Worm Compost
You can use vermicompost as you would most other nutrient-dense fertilizers. All you have to do is sprinkle the compost on your garden beds. Although, you need to be careful when placing the mixture around the stems of your sensitive plants; the nutrient-dense compost can burn them.
You can also collect and use the water that drains from the bottom of your worm bin, which is known as worm tea. All you need to do is mix worm tea with plain water at a one-to-one ratio and place it in a spray bottle or watering can.
Benefits of Worm Composting
Worm composting can come with many advantages that benefit you, your garden, and the planet. It can also provide a solution to many composting issues gardeners encounter. Below are some of the top benefits of worm composting or vermicomposting.
- Cuts down on food waste. Most things your family doesn’t consume, such as fruit and vegetable scraps, can go straight into the worm composting bin.
- Inexpensive start-up costs. All you need is a bin, natural bedding (newspaper, leaves, etc.), grit, and some food. The most expensive part is the worms.
- Can emit less odor. The sealing of the container and the eating habits of the worms can prevent strong odors from emanating from the compost bin.
- Little to no turning. Unlike other forms of composting, you do not need to turn and mix your compost frequently.
- Small and compact compared to other composting methods. Other composting methods require larger containers. You can start with a slim fourteen-gallon tote when worm composting.
- Provides high amounts of beneficial nutrients, including nitrogen, potassium, and phosphorus. Your garden will flourish with the added fertilization from the rich NPK ratio and the other essential nutrients vermicomposting can supply.
It is hard to go wrong when choosing worm vermicomposting as a composting method.
Disadvantages of Worm Composting
Like every form of composting, vermicompost comes with its downsides. Below are some of the most common issues gardeners run into when tending to a worm bin and making worm compost.
- Slow turnover rate. That is because it can take up to six months for your worms to produce enough castings for a plentiful harvest.
- Poor ventilation causes foul odors. Overfeeding and overly wet foods can cause this problem. Avoid overfeeding your worms by only feeding what they can eat in a day or week. Daily small feedings are optimal.
- Requires frequent monitoring. Frequent monitoring is essential to ensure the worms have adequate food, bedding, and other living conditions. Other composting methods do not require as much monitoring but can require more physical labor.
- Pest and pathogens. That is because it is a cold composting method and does not produce the same heat that others can. The heat produced by other methods subsequently kills pests and pathogens. You can avoid pests and pathogens invading your compost by not overfeeding and never feeding rotten food.
- Harvesting is time-consuming. When harvesting worm compost, you must carefully remove the worms from the casting and set them aside. The more worms you have, the longer this process will take.
Where to Buy Compost Worms
If you want to purchase compost worms to start a worm bin, you can do so at local nurseries during the gardening season or online year-round. We recommend purchasing online at Uncle Jim’s Worm Farm, a store that specializes in the sale of compost worms and other materials.
Red Wiggler vs Earthworm
The red worm, also known as the red wiggler, is a relative of Lumbricus terrestris, the common earthworm. Red worms are better at consuming organic matter and producing compost at a faster pace, and that is due to their large appetite.
But you can count on common earthworms to turn and aerate the soil more efficiently. And they do so by traveling and digging into the subsoils; red wigglers are only surface dwellers.
Our Recommended Resources
5-Tray Worm Compost Bin
Live Red Wiggler Composting Worms 100 Count
Worm Factory® 360 Bin
References:
[1] Dickerson, G. W. (2001, June). Vermicomposting. Internet Archive . Retrieved November 17, 2022.

